
Introduction
Creating an immersive 360° experience has never been easier. With our easystory360 platform, you can design, publish and share your 360° content in just a few minutes, without any technical skills. And the best part? You can get started for free.
Whether you want to create a virtual tour for real estate, a tourism experience, a training module, or simply share a 360° memory, this guide will walk you through every step.
Prerequisites
Before you begin, make sure you have:
- 360° media: photos or videos in equirectangular format (most 360° cameras export in this format)
- An easystory360 account: registration is free and does not require a credit card
- A modern web browser: Chrome, Firefox, Safari or Edge
Step 1: Create your free account
Go to easystory360.tools and click on "Create an account".
- Enter your email address
- Choose a secure password
- Confirm your registration via the confirmation email
- Log in to your new account
Your free account gives you access to all the basic features for creating and sharing your first 360° experiences.
Step 2: Upload your media to the library
Once logged in, go to the Library section of your dashboard. This is where you will store all your 360° media.
Supported formats
| Type | Accepted formats | Max size |
|---|---|---|
| 360° images | JPG, PNG, WebP | 50 MB |
| 360° videos | MP4, WebM | 500 MB |
How to upload your files
- Click the "Add media" button
- Select your files from your computer (or drag and drop)
- Wait for the upload to complete
- Your media will appear in your library, ready to use
Tip: Organize your media by creating themed folders so you can easily find your content.
Step 3: Create your first Story
A Story is the container for your 360° experience. It can hold one or more scenes linked together to create an interactive journey.
Create a new Story
- Go to the Stories section
- Click on "New Story"
- Give your story a name (e.g., "Paris apartment tour")
- Add a description (optional but recommended for SEO)
- Click "Create"
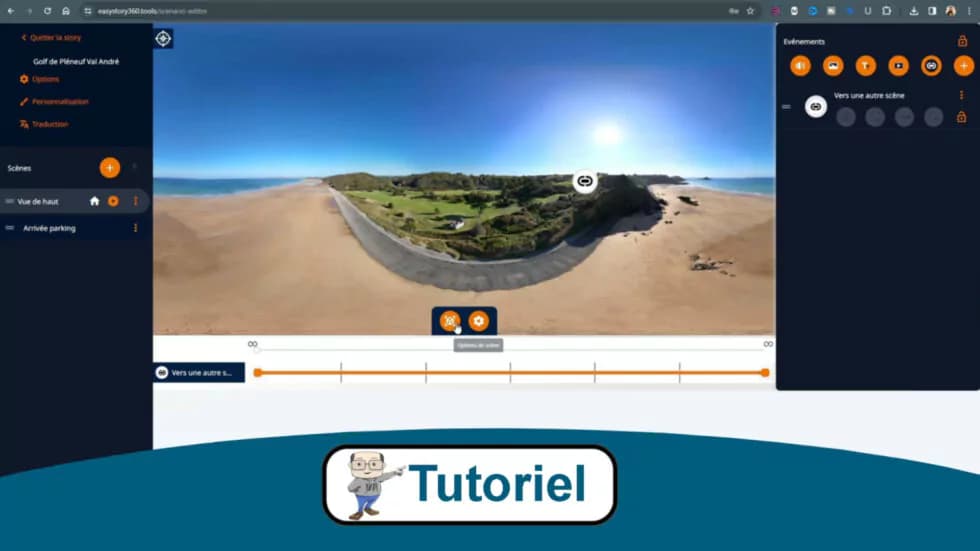
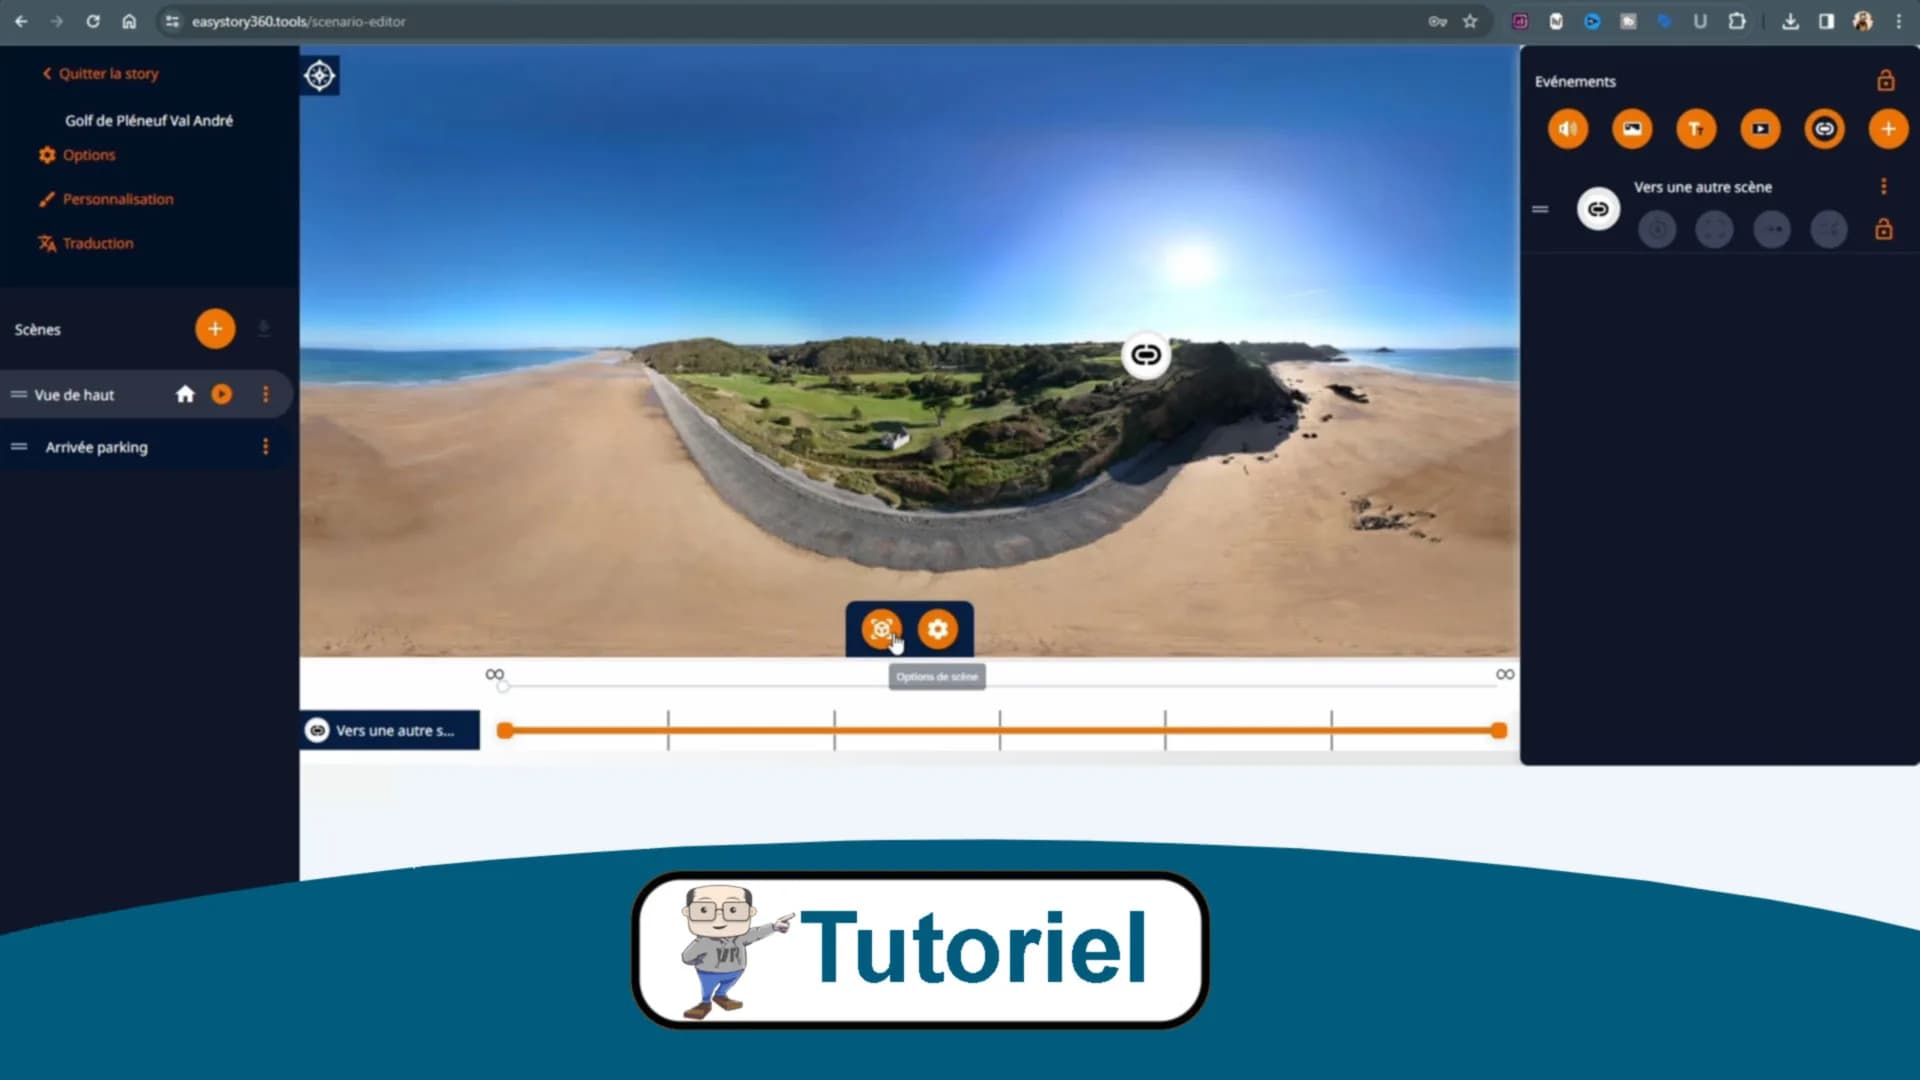
Add scenes
Your story is created; now you need to add scenes:
- In the story editor, click "Add a scene"
- Select a 360° image or video from your library
- The scene is automatically created with your media
- Repeat to add more scenes as needed
Customize your scenes
For each scene, you can:
- Set the initial viewpoint: the starting angle when the user enters the scene
- Add a title: displayed as an overlay
- Add hotspots: interactive points to navigate or display information
- Configure audio: ambient music or narration
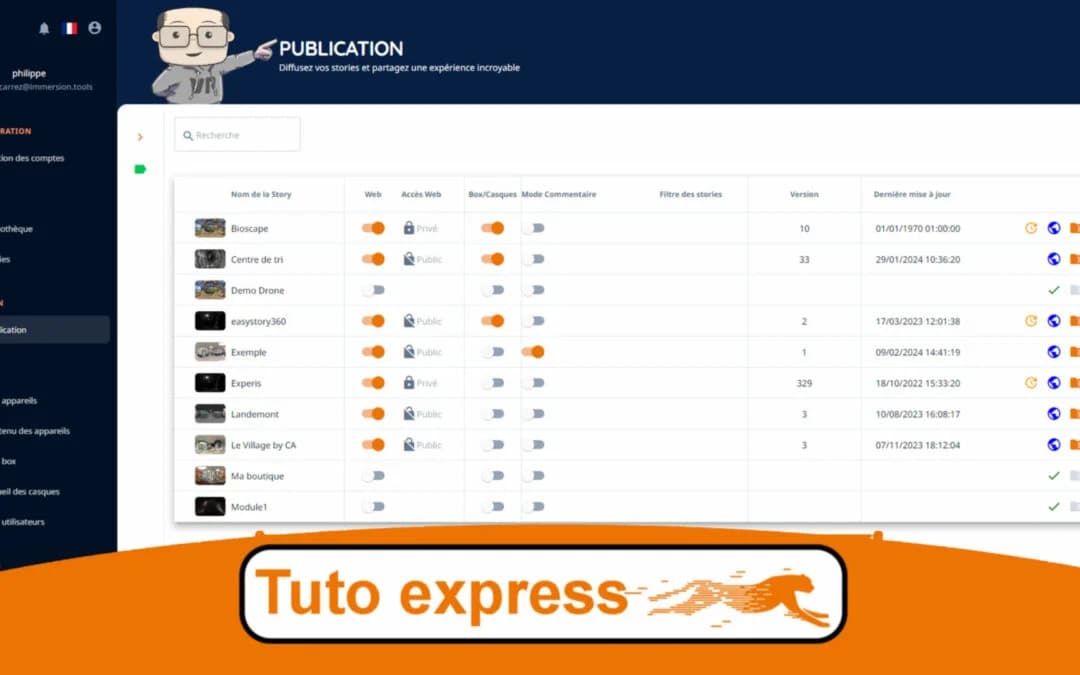
Step 4: Publish and share your Story
Is your 360° experience ready? It's time to share it with the world!
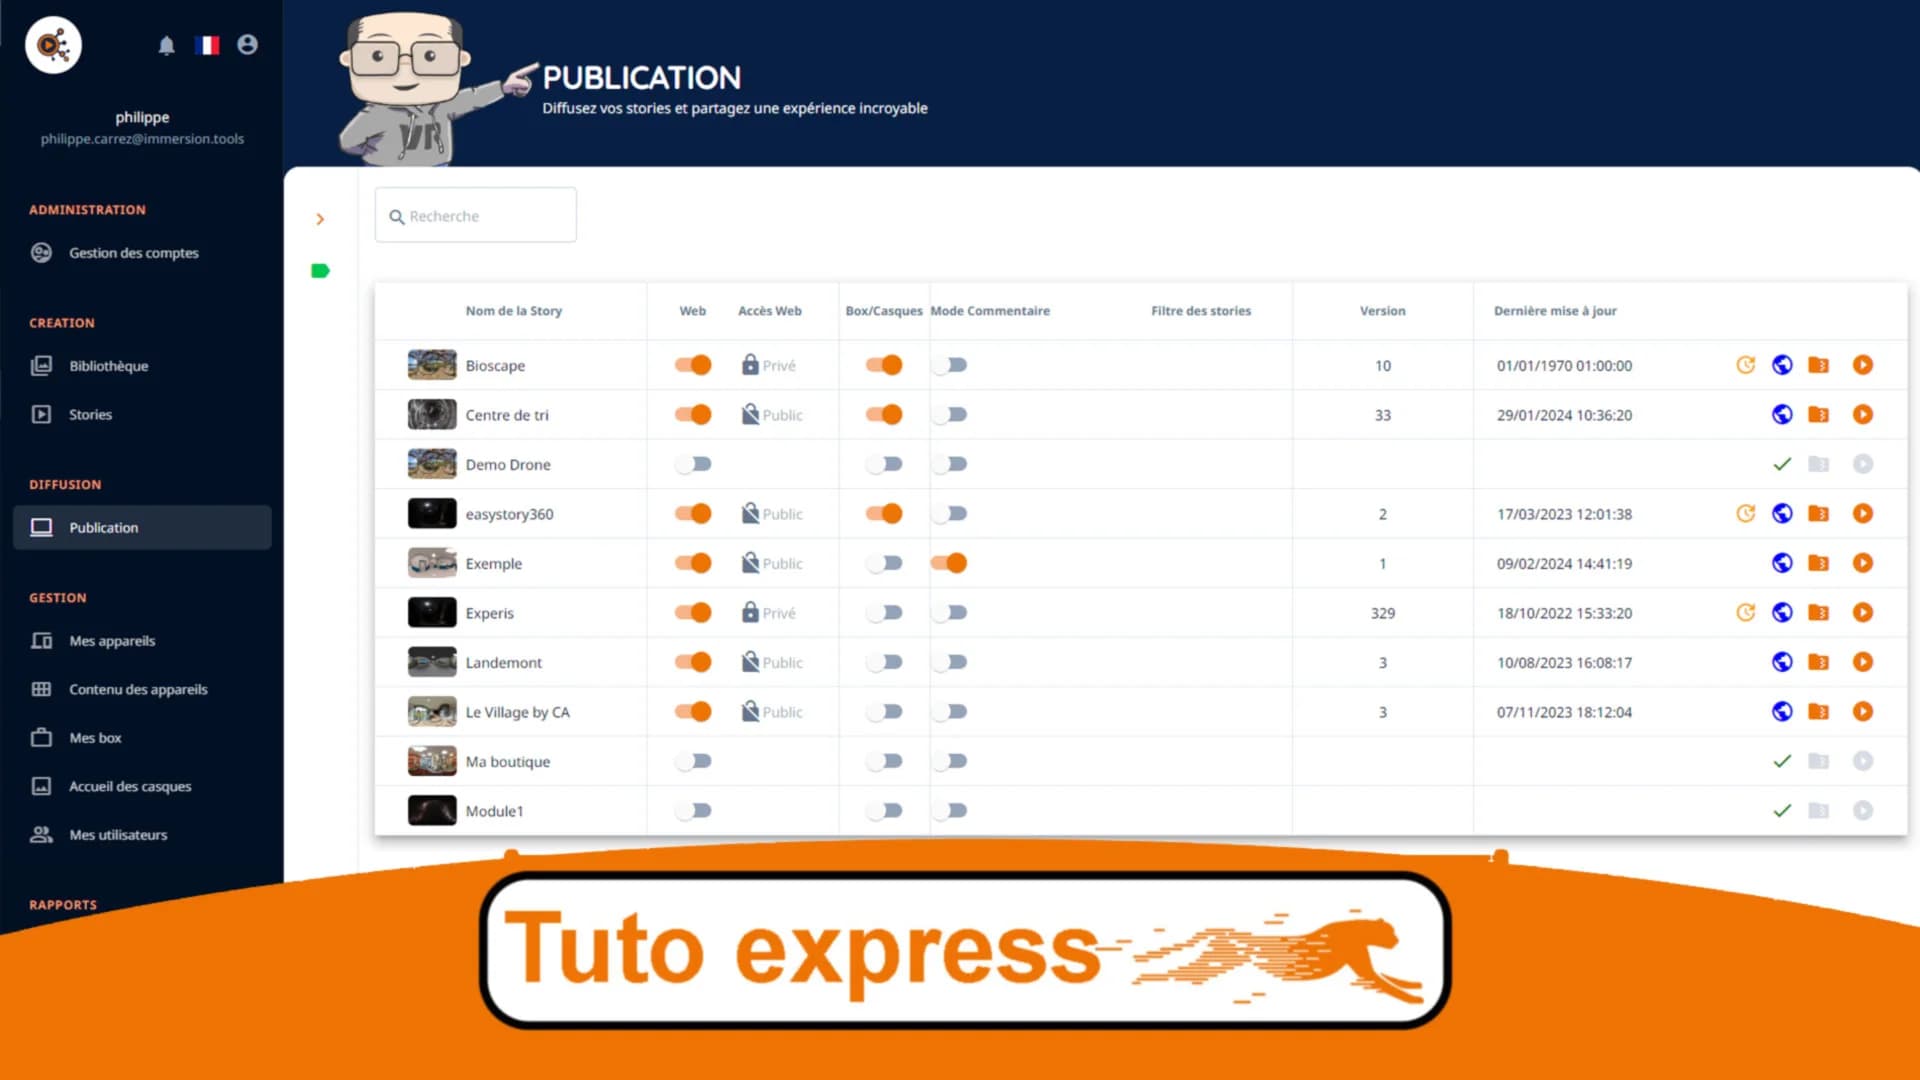
Publish your story
- Click the "Publish" button at the top of the editor
- Choose the publication mode:
- Public: accessible to everyone via a link
- Unlisted: accessible only with the direct link
- Private: visible only to you
- Click "Confirm publication"
Sharing options
Once published, several options are available to you:
- Direct link: copy the link and share it via email, SMS or messaging apps
- Embed code: embed your story on your website using an iframe
- QR Code: generate a QR code for quick access from a smartphone
- Social media: share directly on Facebook, Twitter or LinkedIn
Viewing modes
Your 360° experience can be viewed on different devices:
| Device | Description | Interaction |
|---|---|---|
| Web browser | PC, Mac, tablet | Mouse / Touch |
| Smartphone | iOS, Android | Touch / Gyroscope |
| VR headset | Meta Quest, Pico, etc. | Full immersion |
Video tutorial
Prefer learning through video? Watch our complete tutorial that guides you through all of these steps:
Tips for a successful first experience
- Media quality: use high-resolution images (minimum 4K recommended) for optimal immersion
- Stability: for 360° videos, use a tripod or a stabilizer to avoid uncomfortable movements
- Lighting: prefer shooting in natural light or with even lighting
- Points of interest: add hotspots to guide your visitors and enrich the experience
- Testing: preview your story on different devices before publishing it
What's next?
Now that you have mastered the basics, explore the advanced features:
- Create links between your scenes for interactive journeys
- Embed your stories on WordPress with our dedicated plugin
- Add quizzes and forms for training experiences
- Analyze your stories' viewing statistics
Have questions? Our team is here to support you as you take your first steps into immersive creation!